The Pattern: didochi flare leg jeans
Found on Etsy
I absolutely hate shopping for jeans. There always seems to be something wrong: I am in between sizes or there is a back gap or all you can find is high waisted pants! Since I have a short torso, high waisted pants look and feel ridiculous. I don’t like pants ending up near my bra. I have heard women say that high waisted pants are great for them as it “tucks things in”. Not for me! They more “push things out” and make sitting awkward. And don’t get me started on the fact that I have longer legs and jeans are either 28, 30, and 34 inch inseams. We are not all so evenly legged! I need a 32 inseam. Also, it depends on the brand on what a women’s size actually is. a size 6 could be a size 4 in other brands. WHY?!? Everything about shopping and trying on jeans makes my skin crawl. Usually, I just wear leggings and go about my day. Recently, however, I have been wanting to get back to wearing a classic jeans and t-shirt outfit. Maybe a jeans and dress combo to wear to a concert. That was always my go to a few years ago! The fact of the matter is, I bought one pair of jeans in the past year and I am not happy with how they look. They were supposed to be mid-rise, but I honestly think the mainstream designers forgot what mid-rise actually is. These were more on the high rise end. But I didn’t have many options. So in the closet they go and I grumble when I put them on. They do not make me happy.
why i decided to make this pattern:
When I started thinking about finding a pair of jeans to make, I started with the big popular brands like Simplicity and McCalls. But they never seem to look right on me. So I went down the indie pattern rabbit hole. Many of the current patterns are high waisted. That is fine and I could always have adjusted the waistline to what I wanted. But that usually takes up more time and fabric that I really wanted to do this time around. I was looking around on Etsy when I stumbled across the Didochi Flared Leg pattern at around 2:00 am when I honestly should have been sleeping. This looked amazing! The model in the picture looked like she had a bit of a full seat (they had a bum!) like me and I might not have to do too many alterations to the pattern. I over thought about the pattern for about a month before I decided to buy the pattern. I mean honestly it was under $10 and what did I have to lose besides some discounted fabric? So I bought it!
The construction instruction:
Rosie loves balling up the fabric I am using!
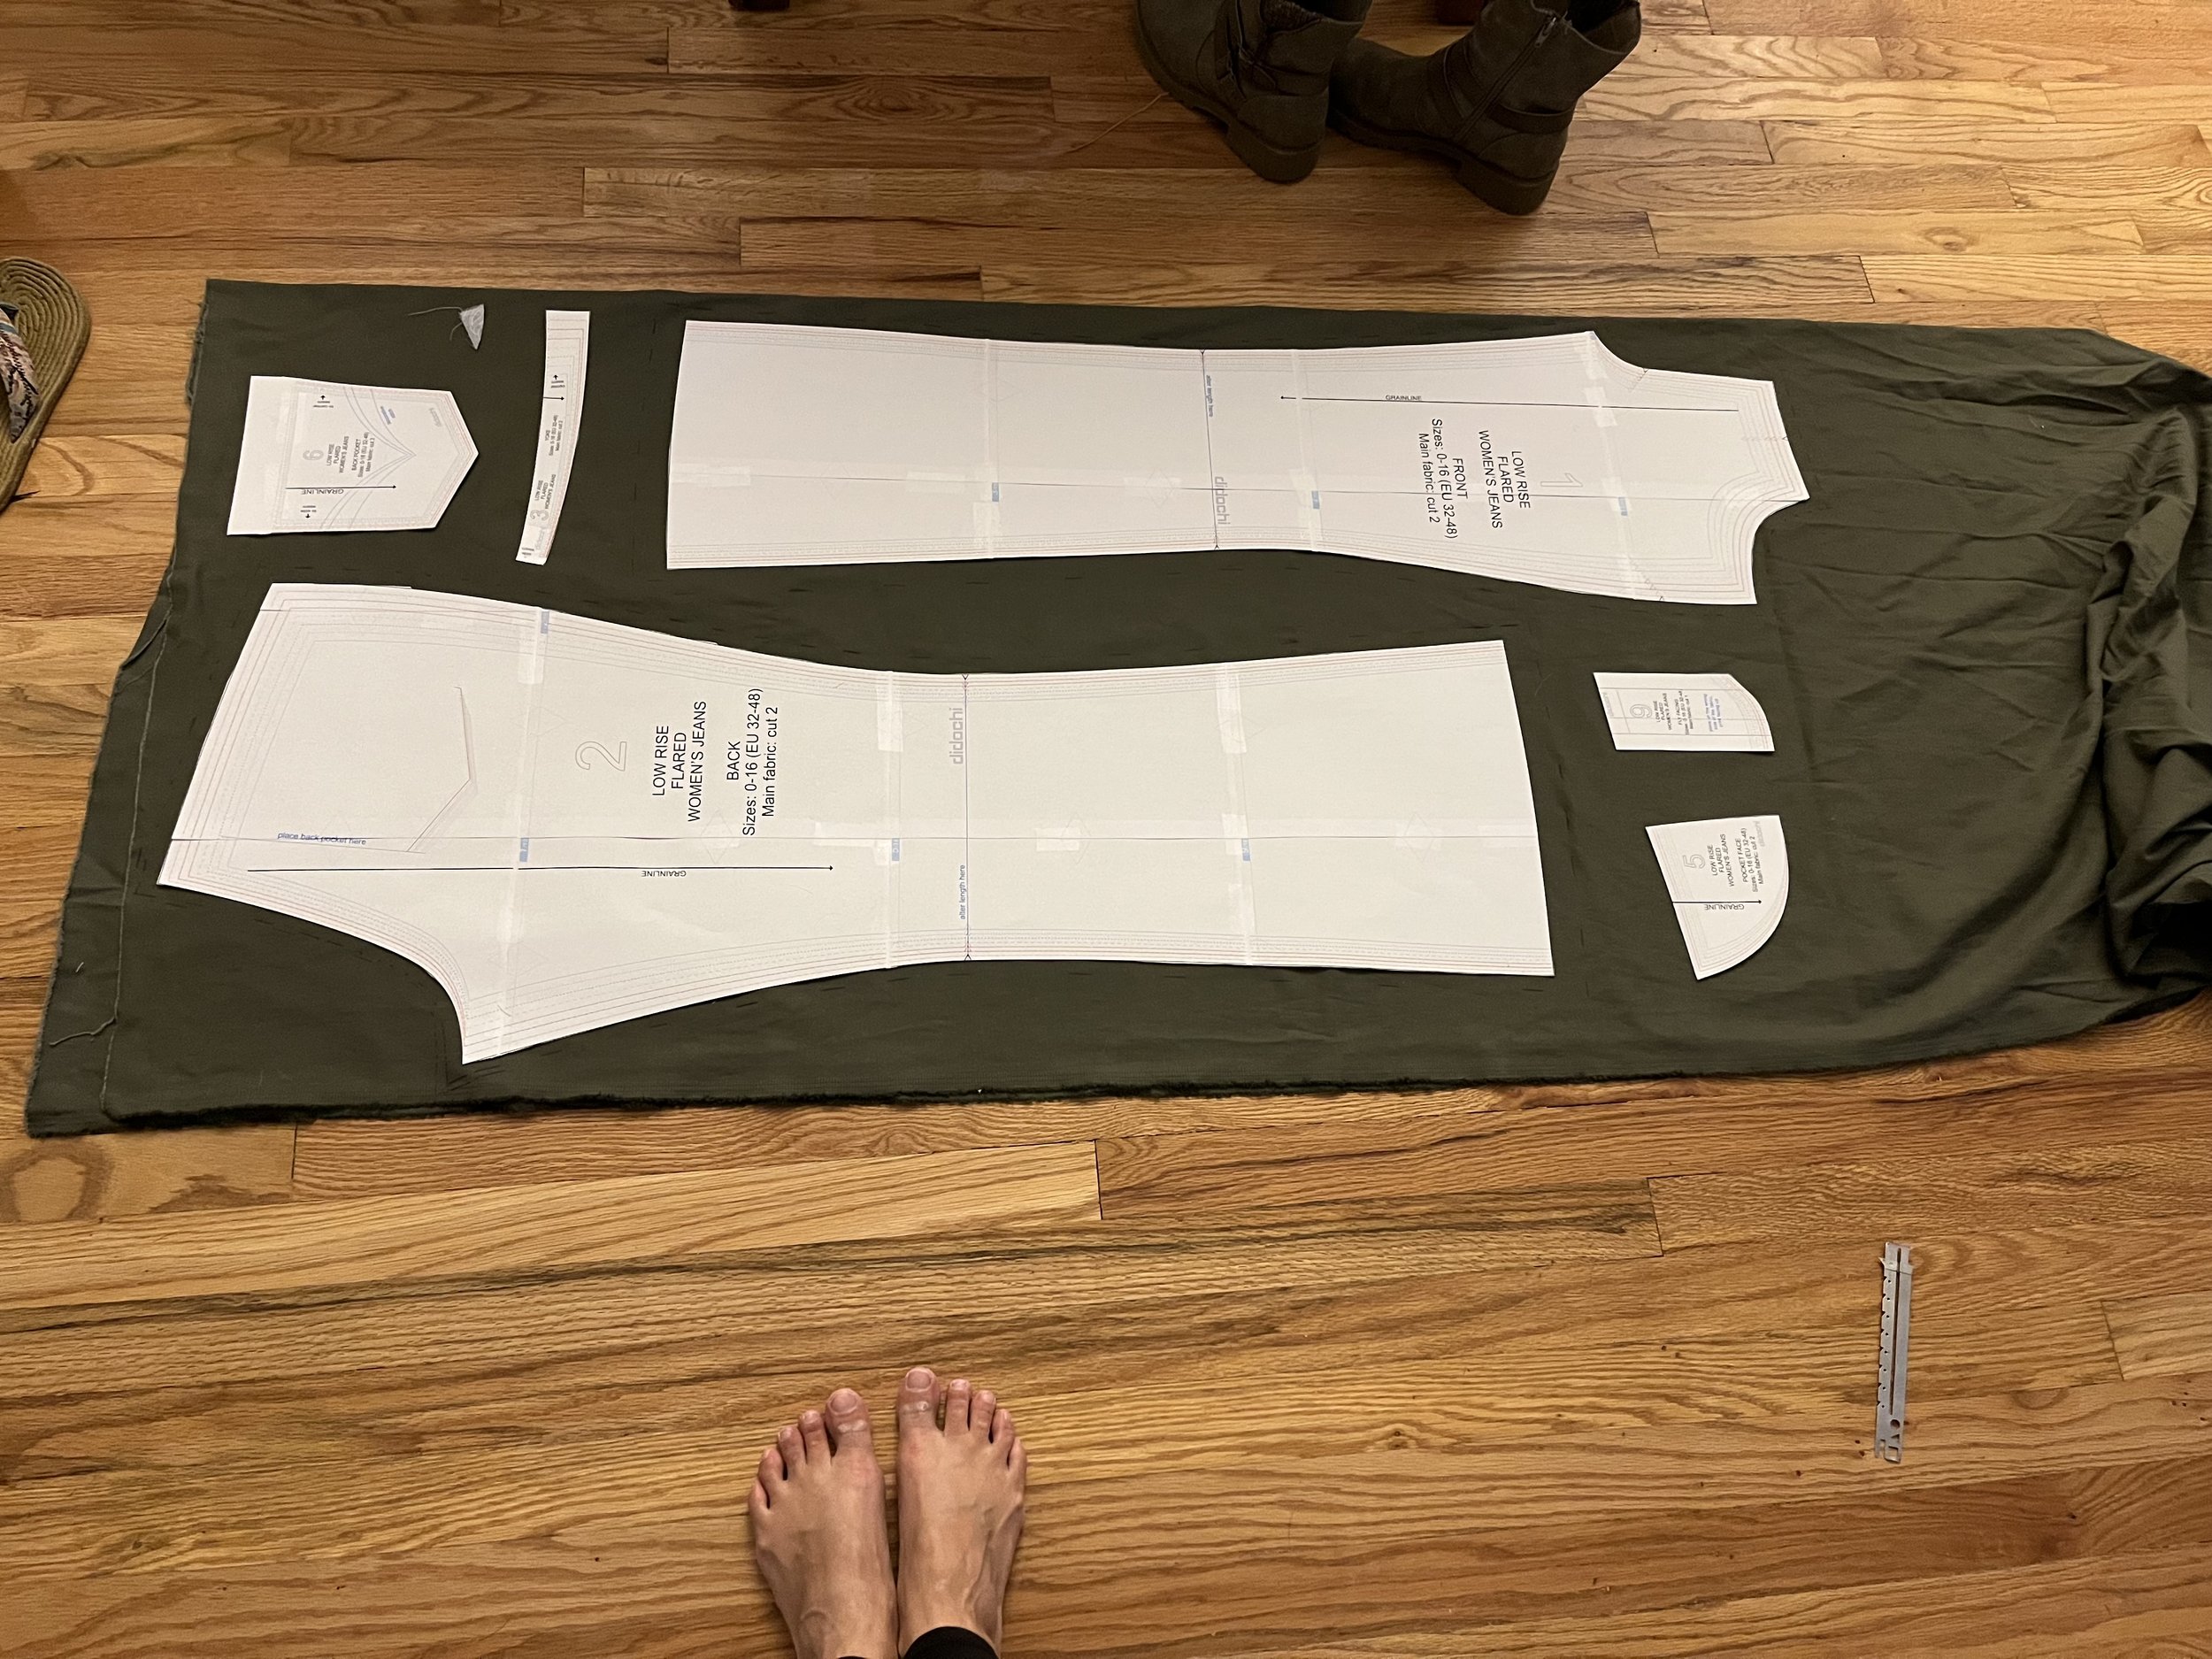
After I bought the pattern, I made sure I had some good fabric to make the jeans. About a year or two ago, I bought some stretch twill that is about as heavy as the jean fabric I plan to use to make the final pair. I washed it and dried it to make sure to limit the shrinking. Then I printed the pattern and started to read the directions. This is where things did get a little bit complicated. I didn’t read all the reviews when I bought the pattern as I wanted to 1.) write my own review 2.) come at the pattern with an unbiased view, and 3.) be surprised if there where any difficulties to contend with.
The pattern map which shows how much seam allowance to add per pattern piece.
I had some initial issues printing the pattern, but that was my own fault. I did not check the sale for printing, so it was off by about 1/8th of an inch. Not that big of a deal really and I didn’t want to have to reprint as I was getting low on toner. So I decided to make up for it when I cut it out. Then I took a closer look at the pattern instructions and thought it was a bit overwhelming. You do have to add your own seam allowance. At the end of the day, this is not the biggest problem for me. I usually have to grade patterns and make adjustments anyway. But the seam allowance was not all that consistent. The creator did include a picture map with the pattern pieces and what you needed to do for the seam allowance. 100% helpful! So I used that when I was adding seam allowances to the pattern.
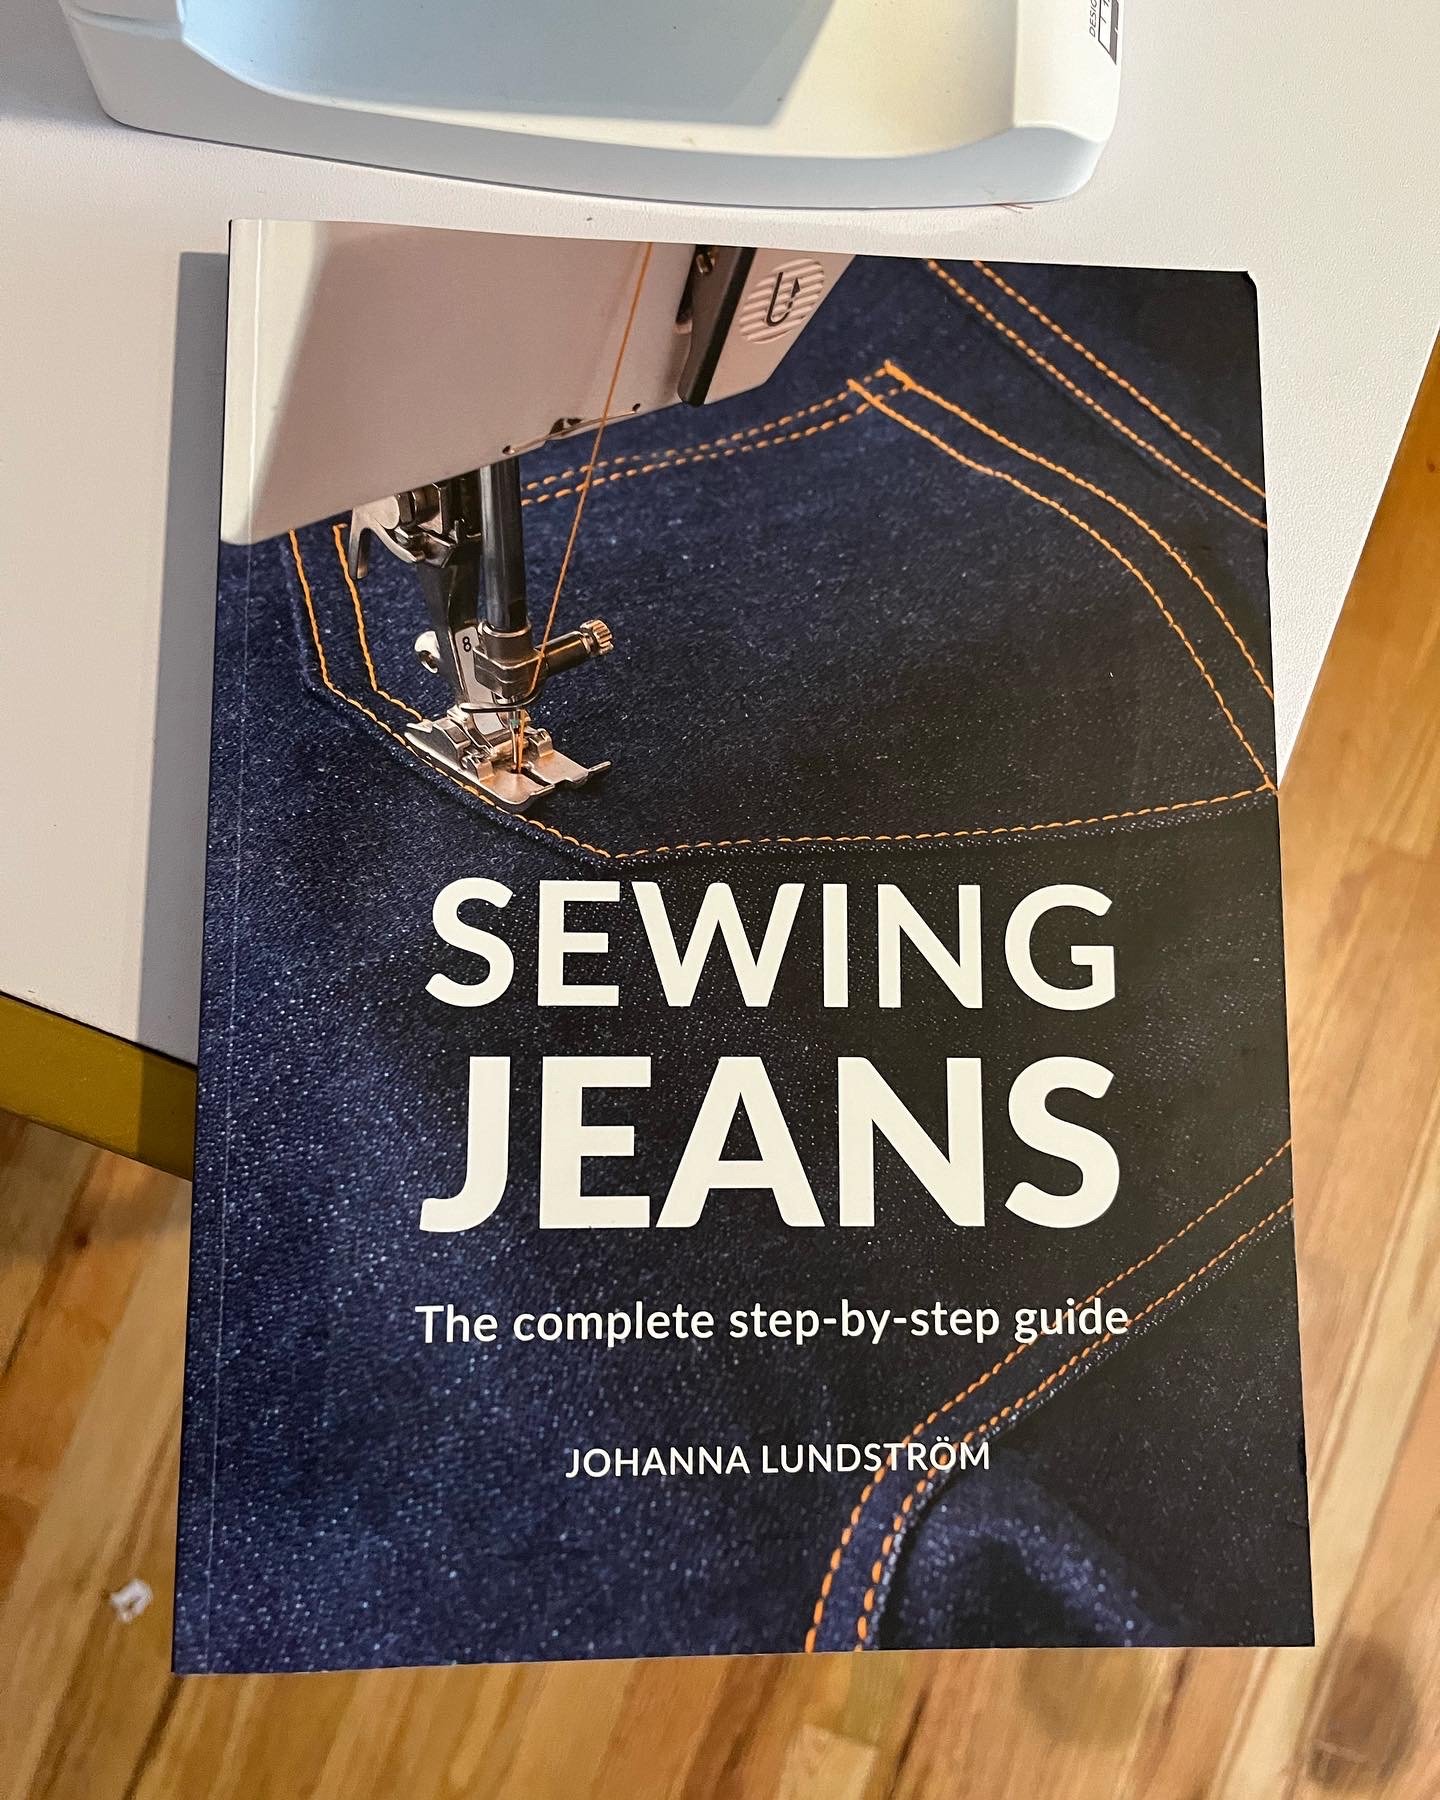
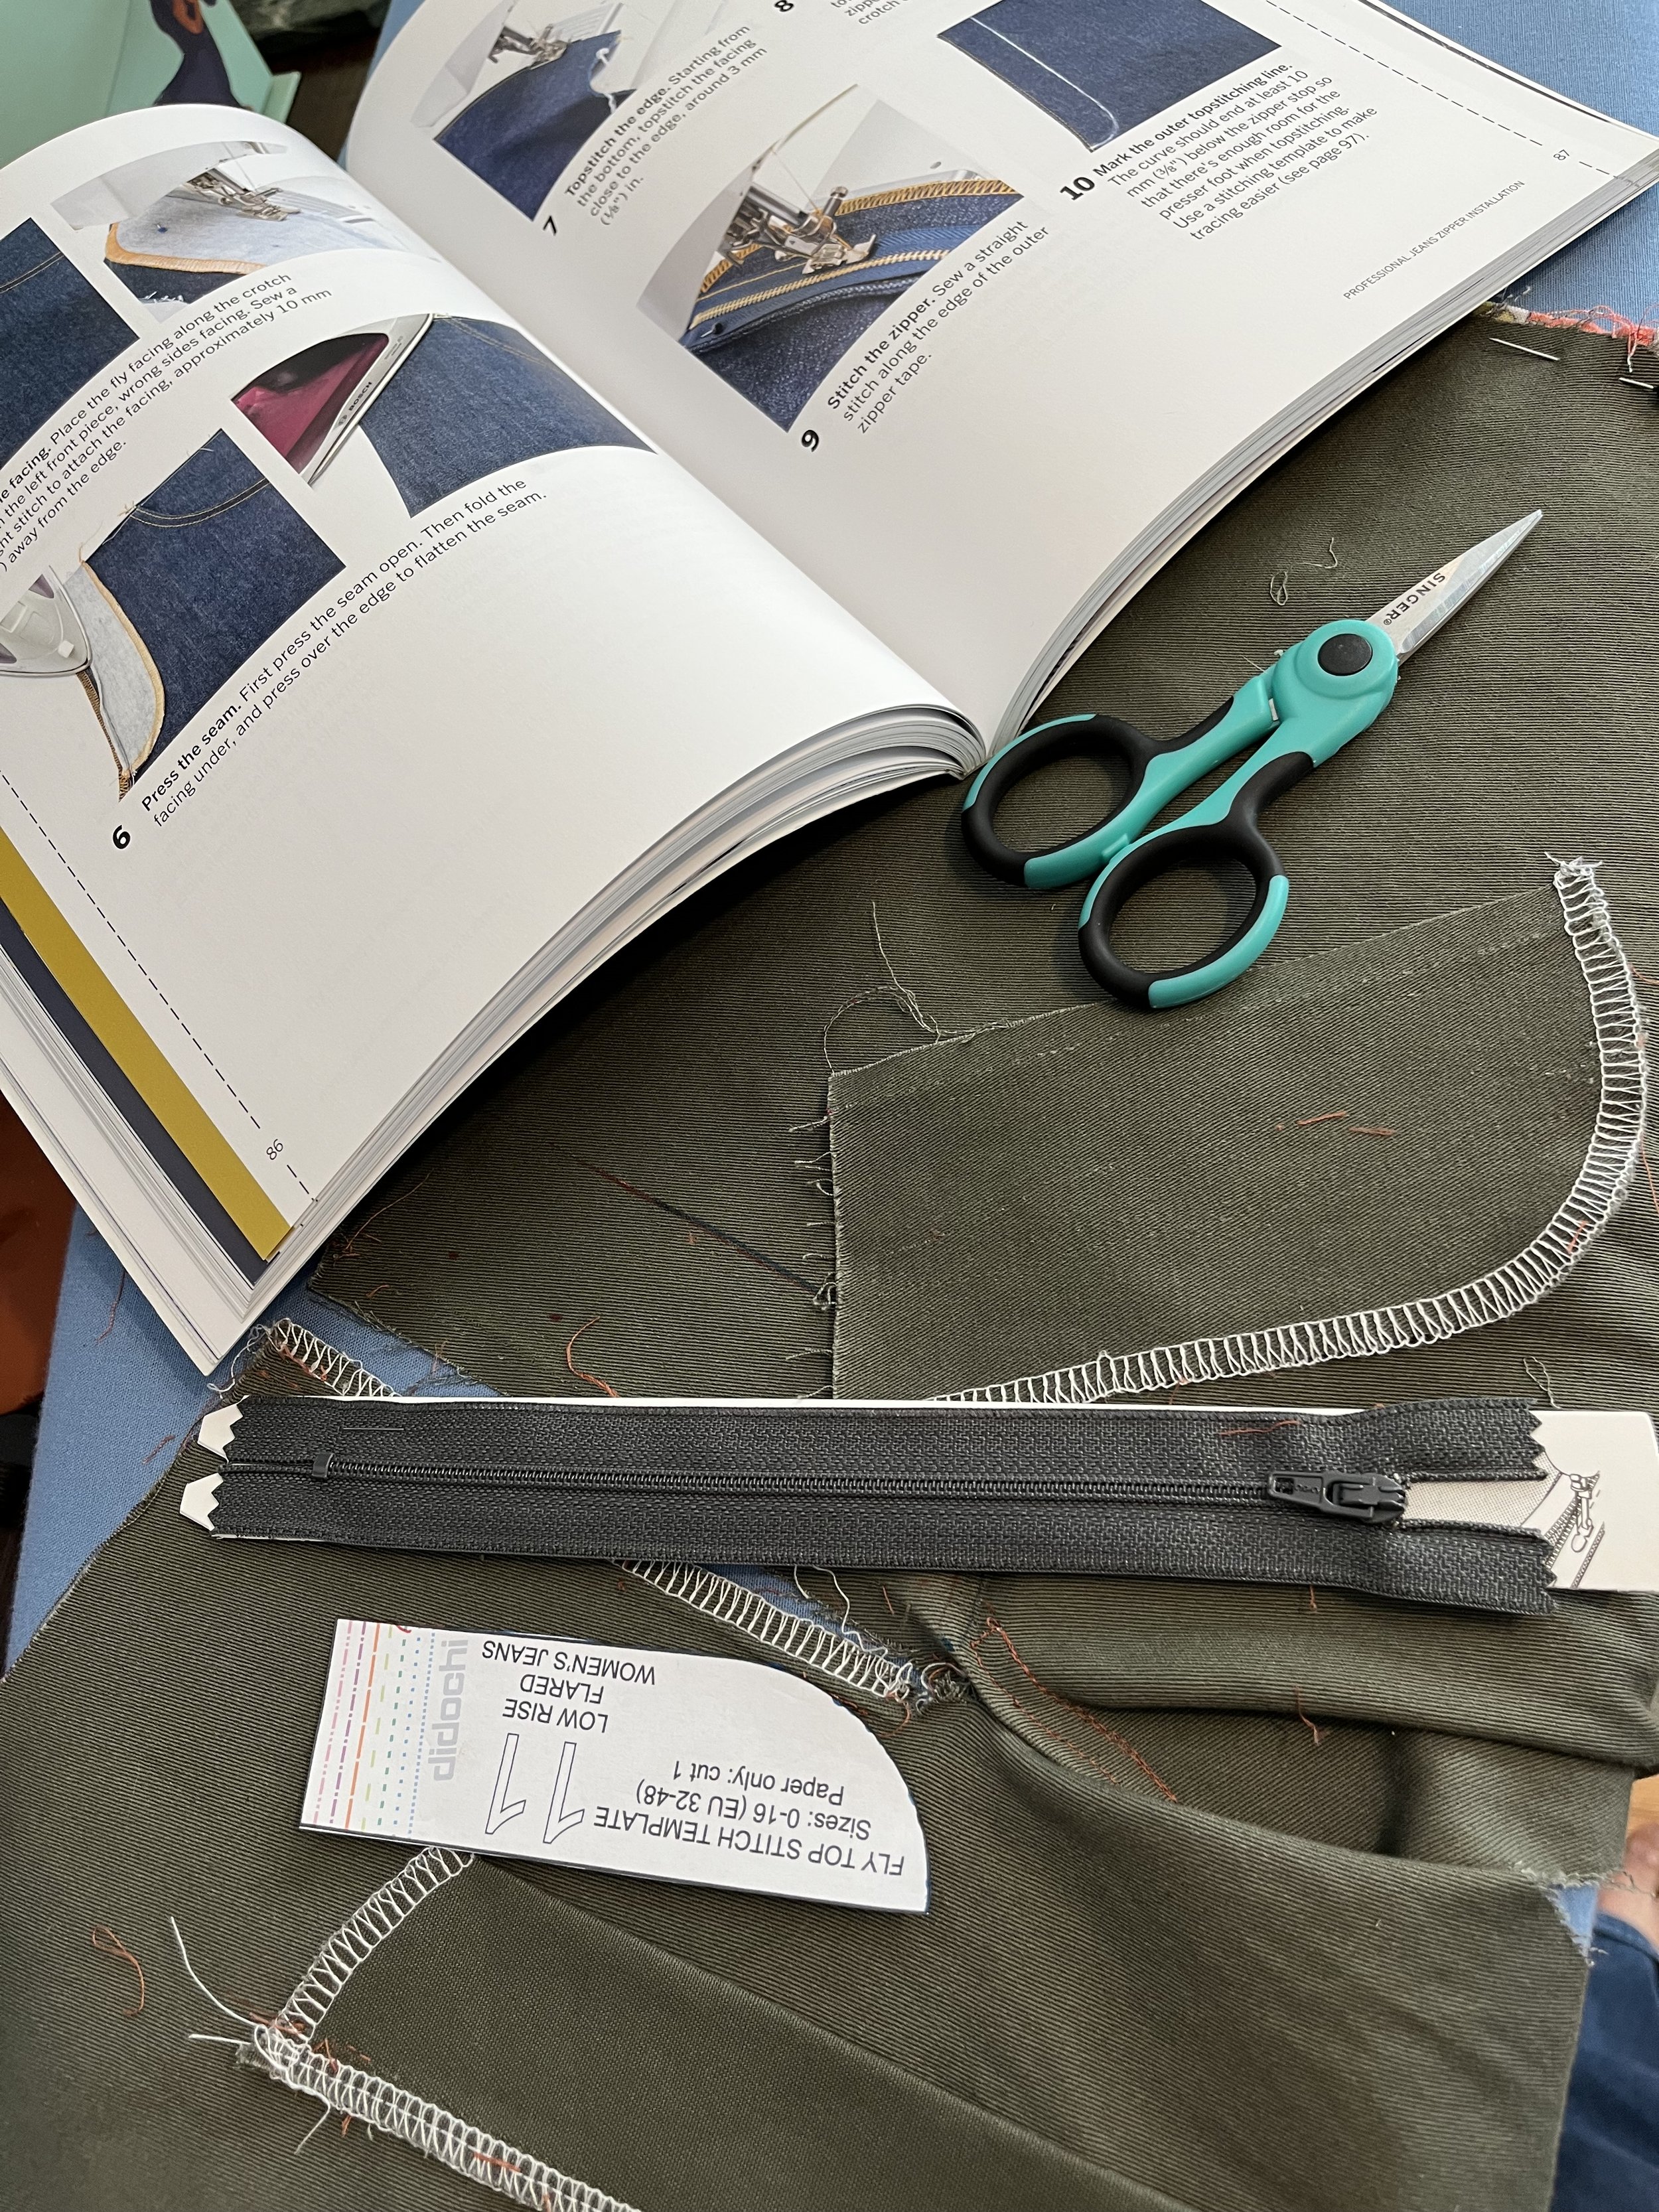
The directions were also just okay. When you are sewing, I find instructions with pictures super useful. These instructions did not include any picture references. They did, however, come with the URL for the YouTube instructional video. I watched this to a point. The reason is that it went so fast! I would have to keep stopping and rewinding a bit to see what they were doing. If it goes too fast, then you miss out on important information. What did help was a different video and book I ended up buying to make jeans in the future. I believe Didochi has also referenced this book in the past as they did the same step-by-step fly. The book was more helpful to me as I didn’t have to keep rewinding a video to see what I needed to do for a certain step. If you get a chance, pick up the book Sewing Jeans: The Complete Step-By-Step Guide by Johanna Lunstrom. She also has a few YouTube videos to help you out.
From there, I discarded the instructions and only used the book to complete the jeans. Again I feel that I need pictures and clear instructions with those pictures to complete a sewing project. I also started to read more of the book and cannot wait to do a complete book review on this in the future. When I use the pattern for my final jeans, I will just use this book. I will also alter the pattern a little as per the book instructions.
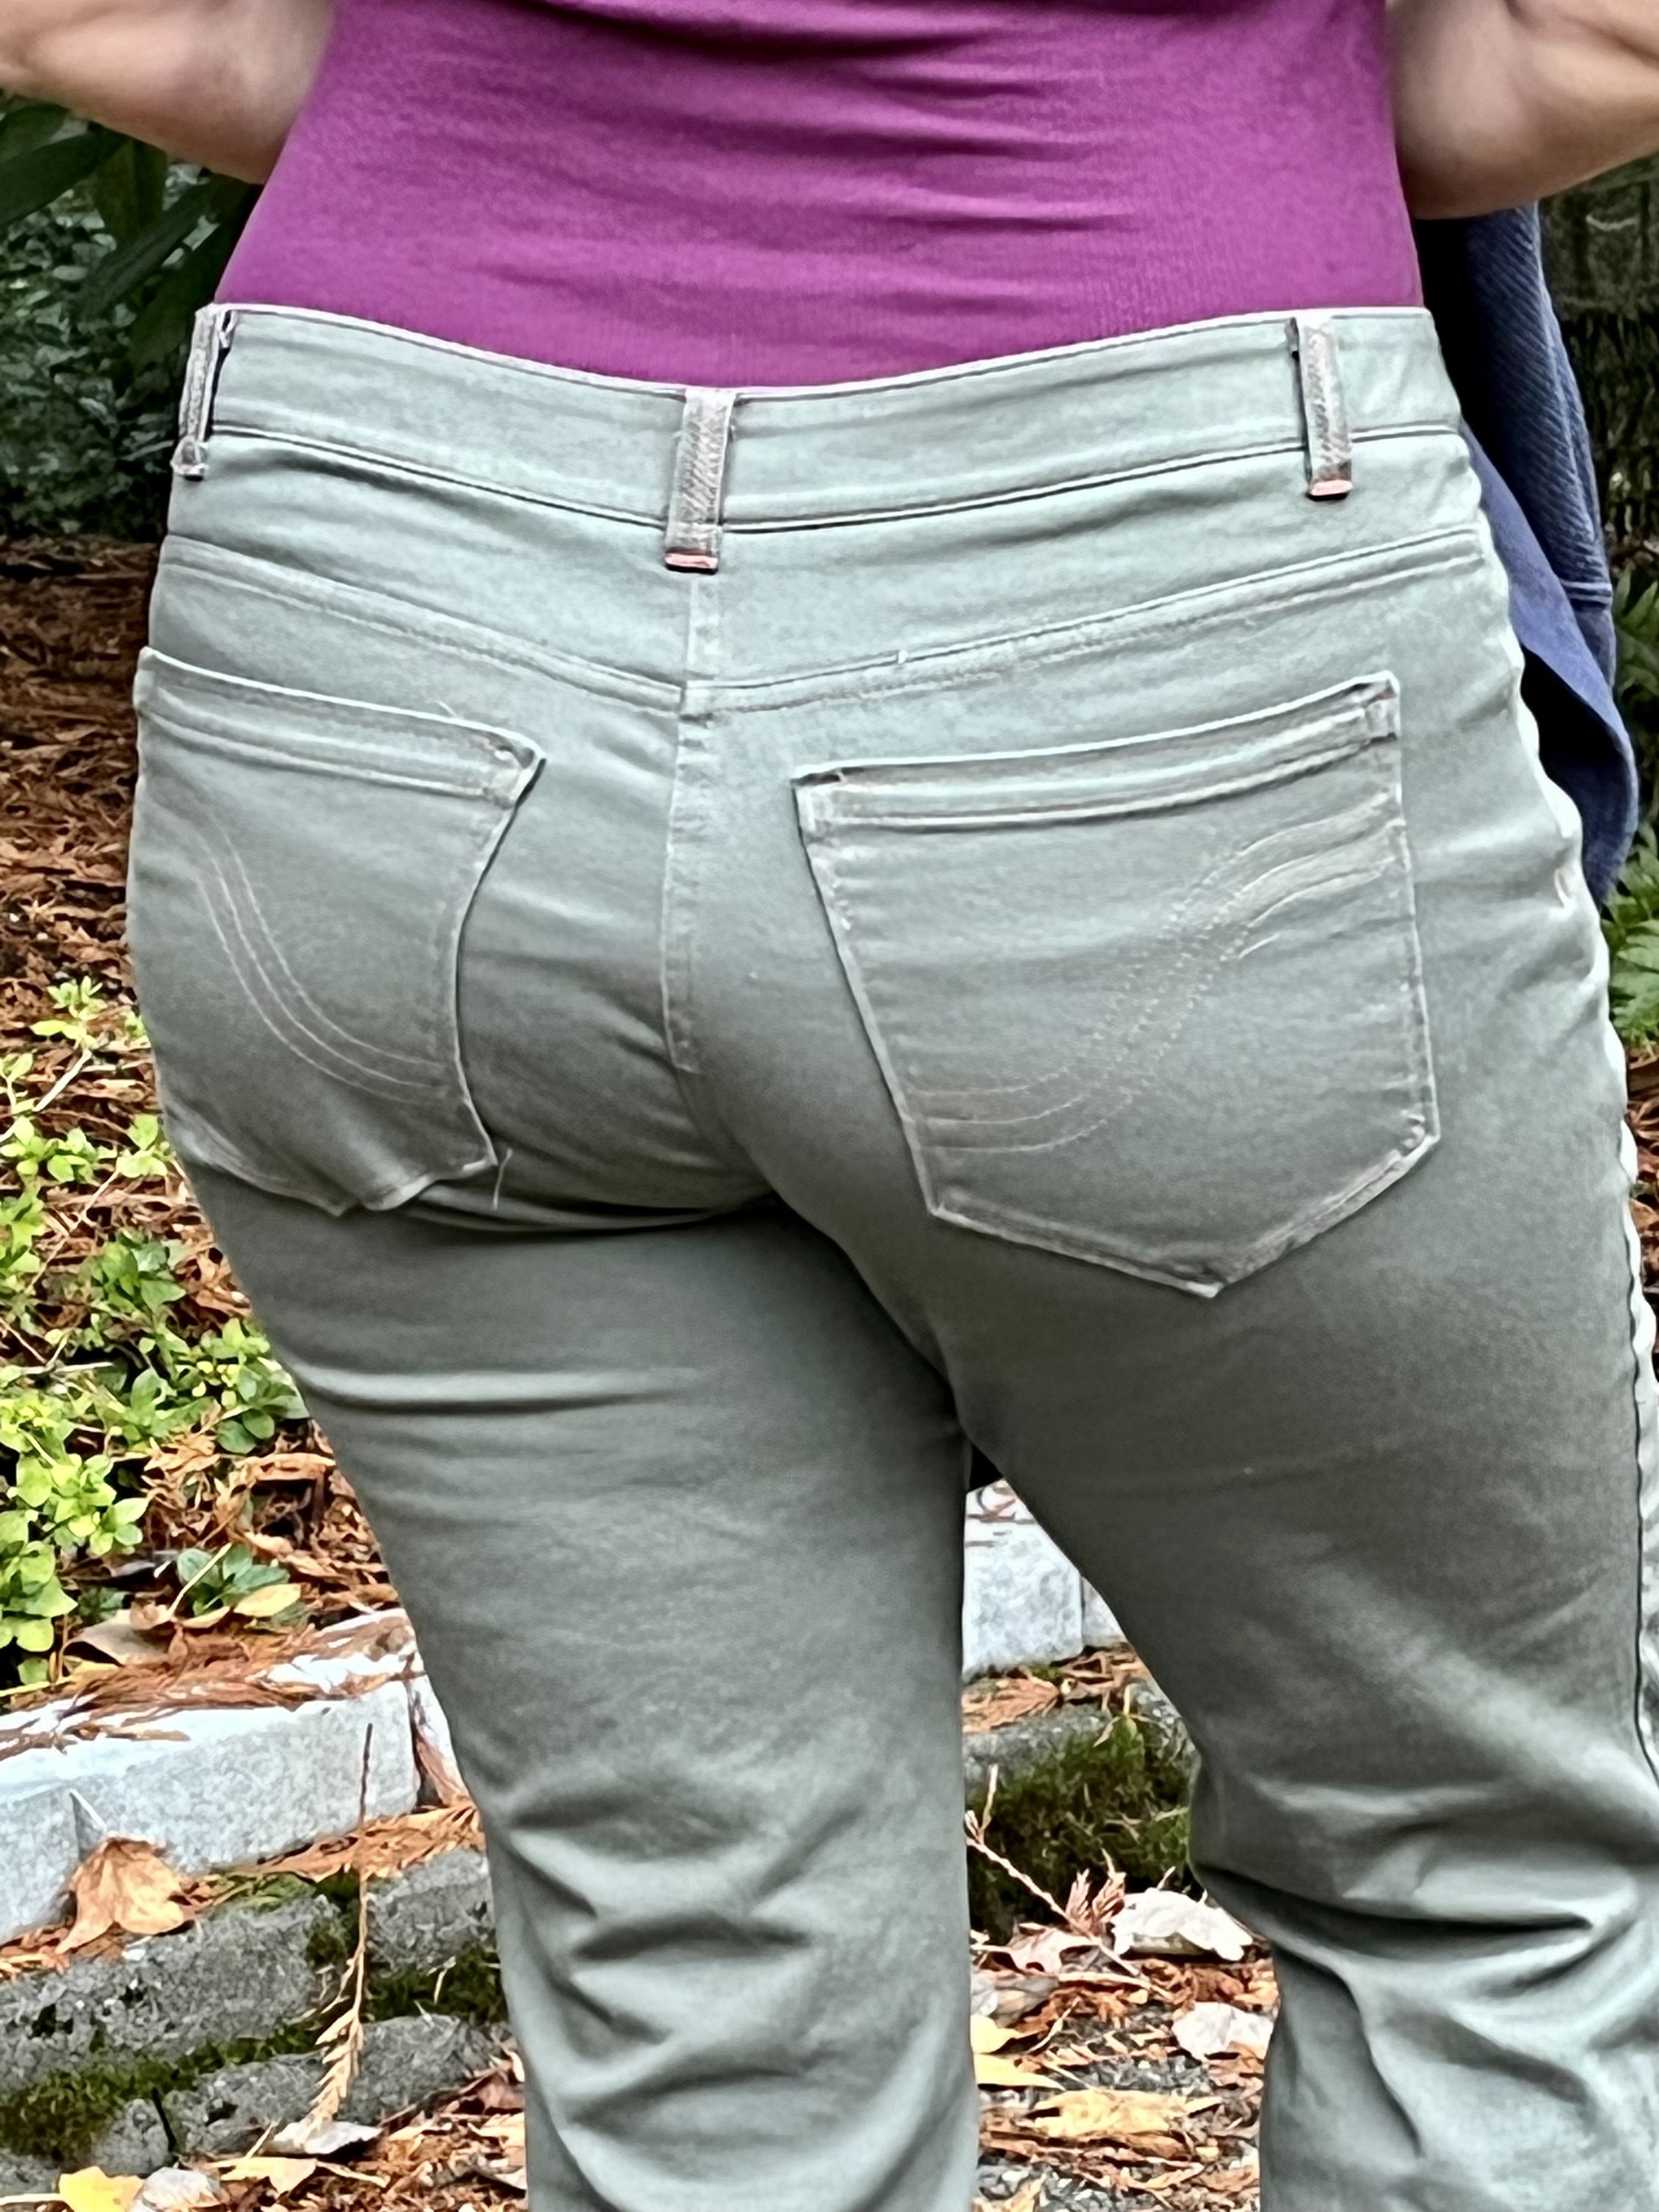
I also had to do some minor alterations to the pattern so it would fit my body type. When you first make a pattern using a muslin, I wholeheartedly suggest buying a discount fabric that matches the weight and stretch amount that you plan to use in your final, more expensive fabric. This will save you so many tears and money. I used an olive cotton twill with about a 15% stretch. My final jeans will be about the same except they are a bit heavier. I will know what I will have to change and be mindful of when I use that fabric. The cotton twill, however, was perfect for the first version of this pattern.
Let’s talk about the alteration I had to do. I have a full seat and sway back. If this is your first foray into learning about pants pattern alterations, I will translate for you. I have a very round behind that kinda sticks out there. I have had this my whole life. This is also why pants that do not have “-eggings” attached to the end of the name tend not to fit me (I am talking about leggings or jeggings). I always get a waistband gap. Things will fit around the hips and be way WAY too big around the waist. Yet when I buy “curvy” pants, they cinch in way too much around my middle and are super uncomfortable. I mean there are so many reasons why I hate buying pants and why I am currently telling you about this pattern here.
Okay so let us get back to this alteration. So I decided to make this alteration a little late in the construction process. I did not think about taking a picture because it was late at night and I really was tired and should not have been sewing but sleeping so I could go to work the next day refreshed. So I ended up basting the sides together and trying on the jeans. I noticed the usual waistband gap and estimated the amount I would have to take out of the back yoke. I could probably have taken out about a half inch more and will do so in the future. That would be in total about a full inch from the top of the yoke then down into the seat. Make sure you curve the portion you take out so you don’t end up with a bit of an awkward pucker in the bum area. No one needs to see that. I also took out about a half inch from the back upper waist as well.
My Overall Thoughts:
Really the overall pattern was pretty nice. I think if the maker re-edits their video to make it a bit slower or even just takes stills of that video to include in the instructions, it would go a long way to making this pattern better. The fit is amazing. The “low rise” fits me more “mid-rise” since I have that annoyingly short torso. Will I make this again? Heck yeah I will! I love how flared the leg is. When you are a bit more petite with about 25 extra pounds on you, the flared leg makes your waist look just a bit smaller. I also just love that vintage 70’s look. My style tends toward the 30’s-70’s time frame. This will be perfect when I attend concerts at Red Rocks! Deep pockets will ensure I don’t lose my phone nor will it fall out of my pocket like some of my other pants and dresses. They also look great with my Birkenstocks and socks for the perfect PNW winter vibe. This pattern is definitely going to be my new go to for jeans!


