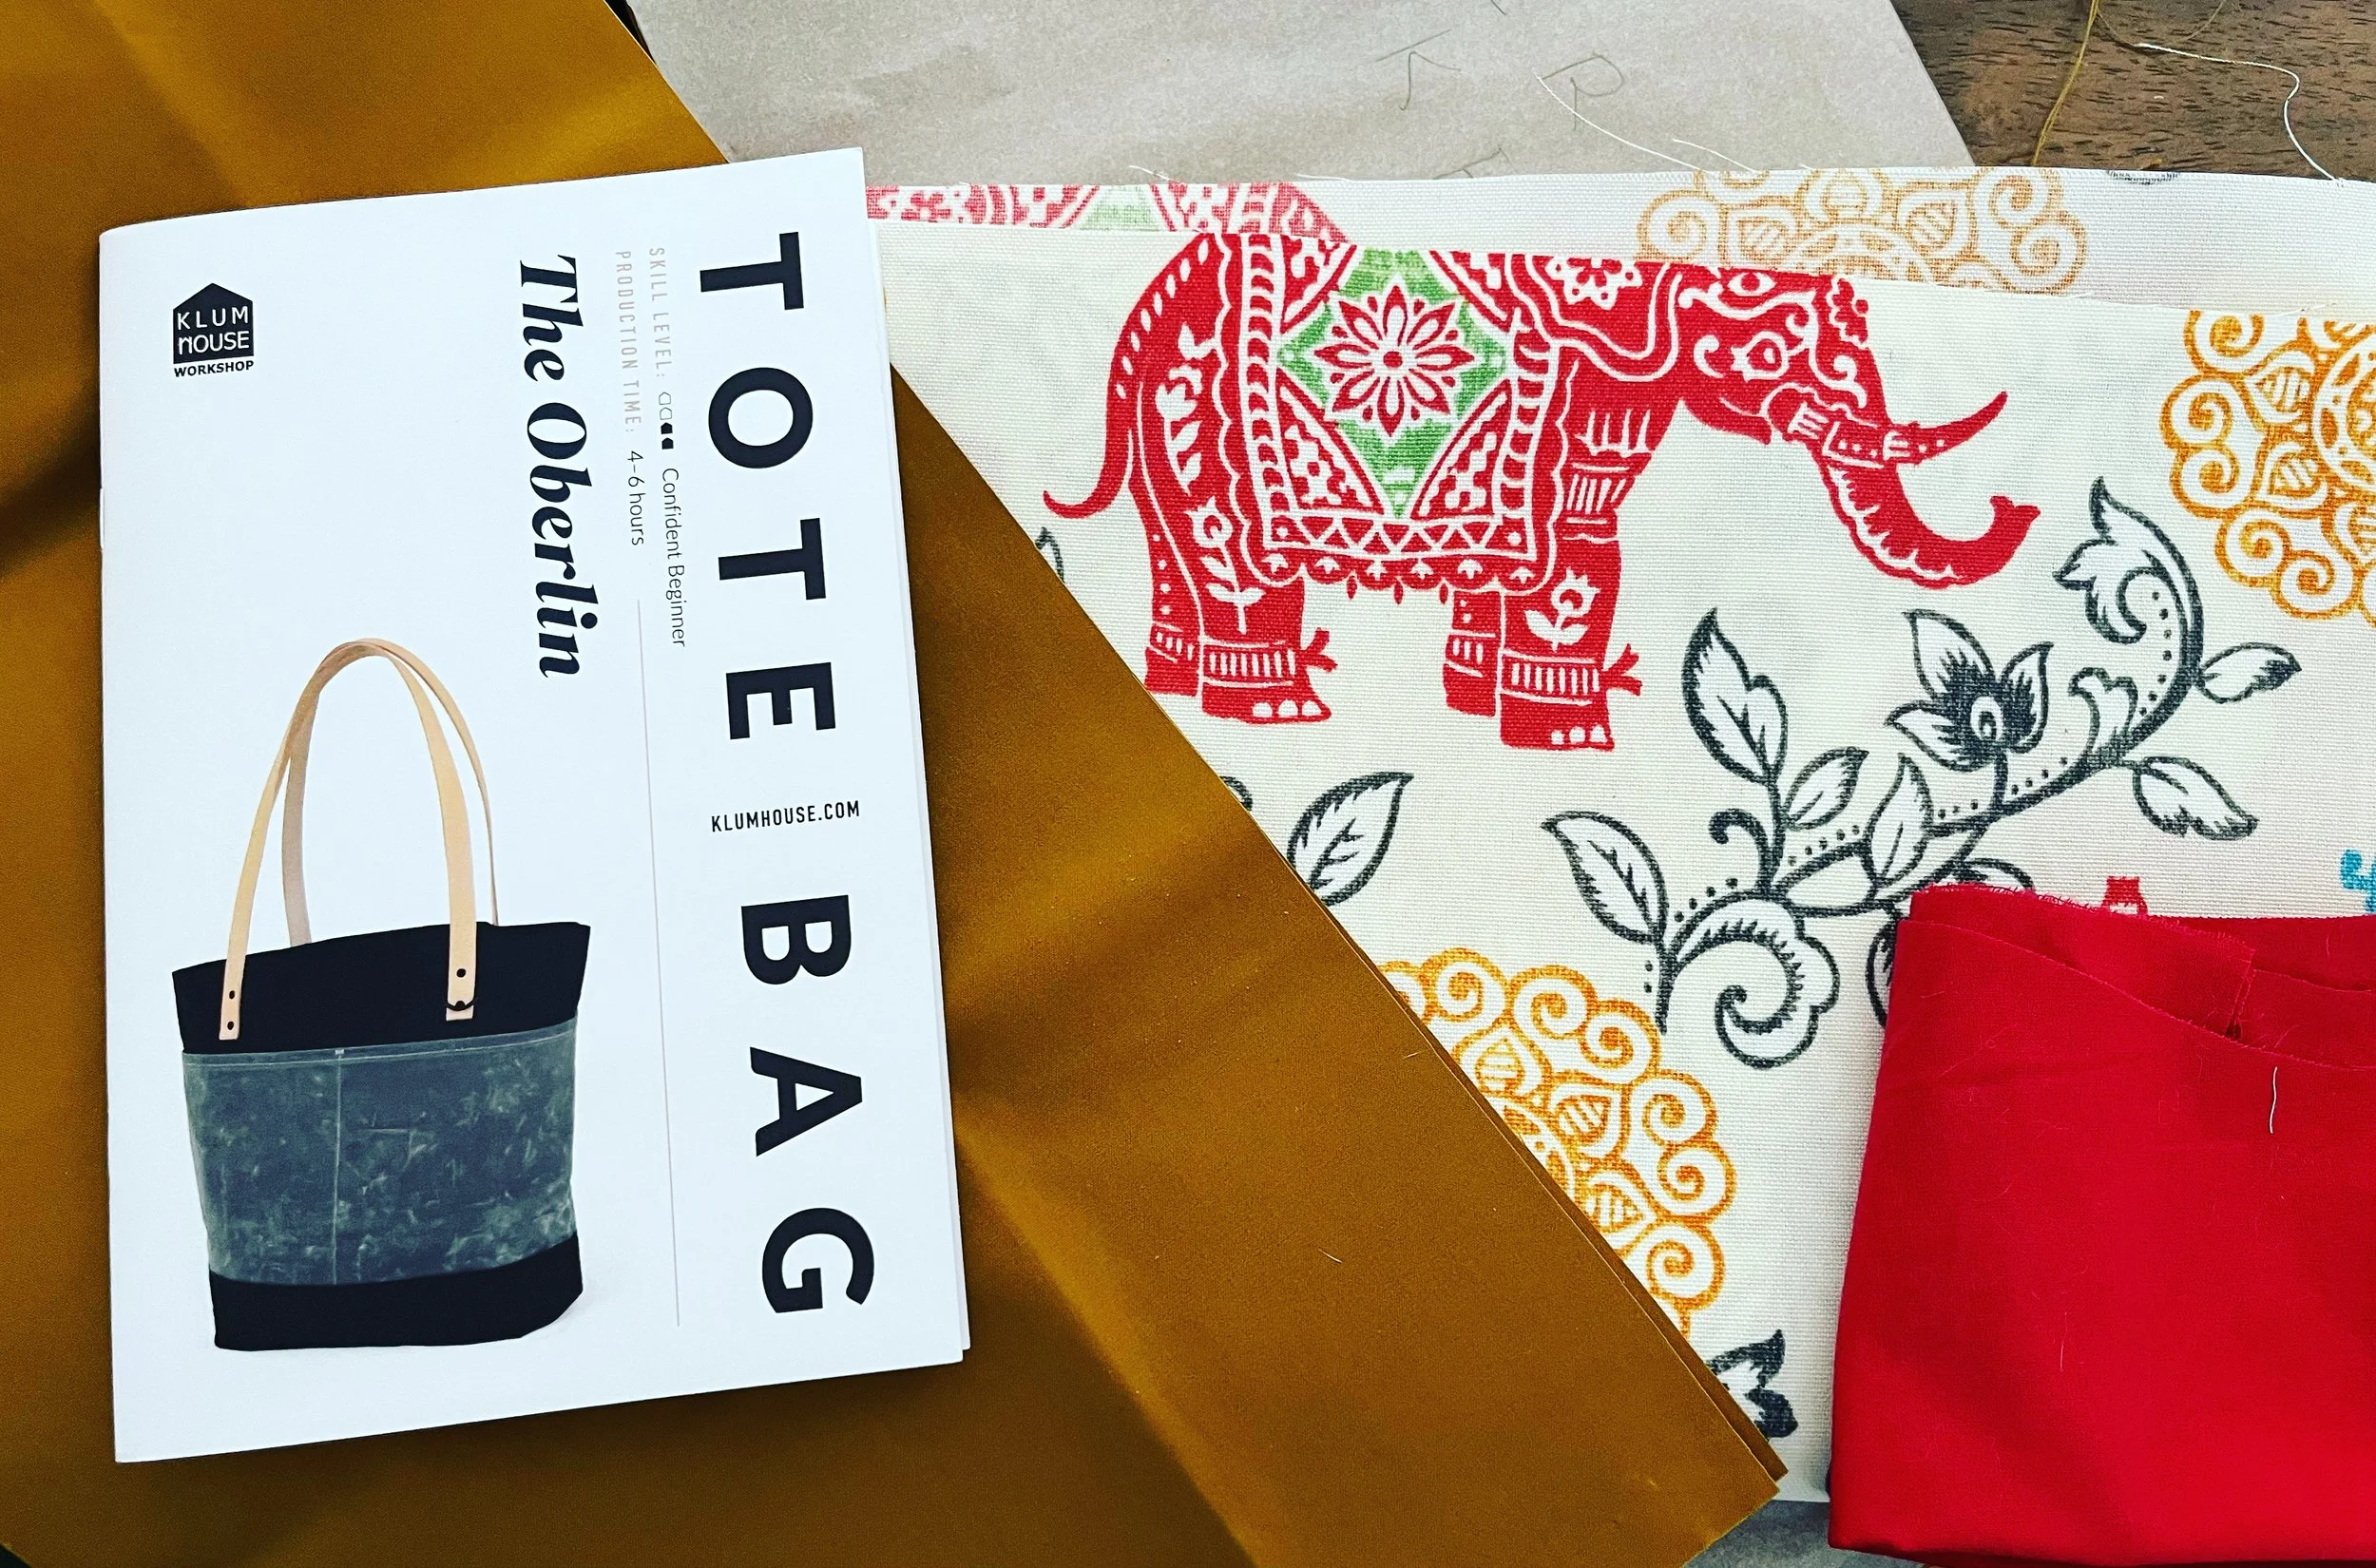
The Pattern: Oberlin Tote by klum house
Why I decided to make this pattern:
A good shopping tote is always a useful thing to have. Especially as many communities are getting rid of those single use plastic bags found at the grocery store. I also love a good tote for when I find myself at a farmer’s market or a fun art fair! Not to mention Ye Ole Renaissance Faire! Basically I collect canvas bags for shopping and using at home. But I have found the $1 bag you can get at the store is not of the highest quality. So when I found this pattern at my local Fancy Tiger Craft Store in downtown Denver, I had to pick it up. This tote would also be an excellent gift for some people in my family.
I had some canvas that my Mom gave me and also some waxed canvas that I had been wanting to make a bag with, so why not use this pattern?! I have not made many bags in my life as I am really 100% into garment sewing. But this bag was too cute to pass up. I also found the notions kit at Fancy Tiger with all the leather, zippers, and rivets needed to complete the bag. So I purchased 4 of those with the intent to make mine first. That way if I messed up, it would only be on mine and I would learn from the experience. I can absolutely say that this bag was easy to make and I cannot wait to make more!
The Construction Instruction:
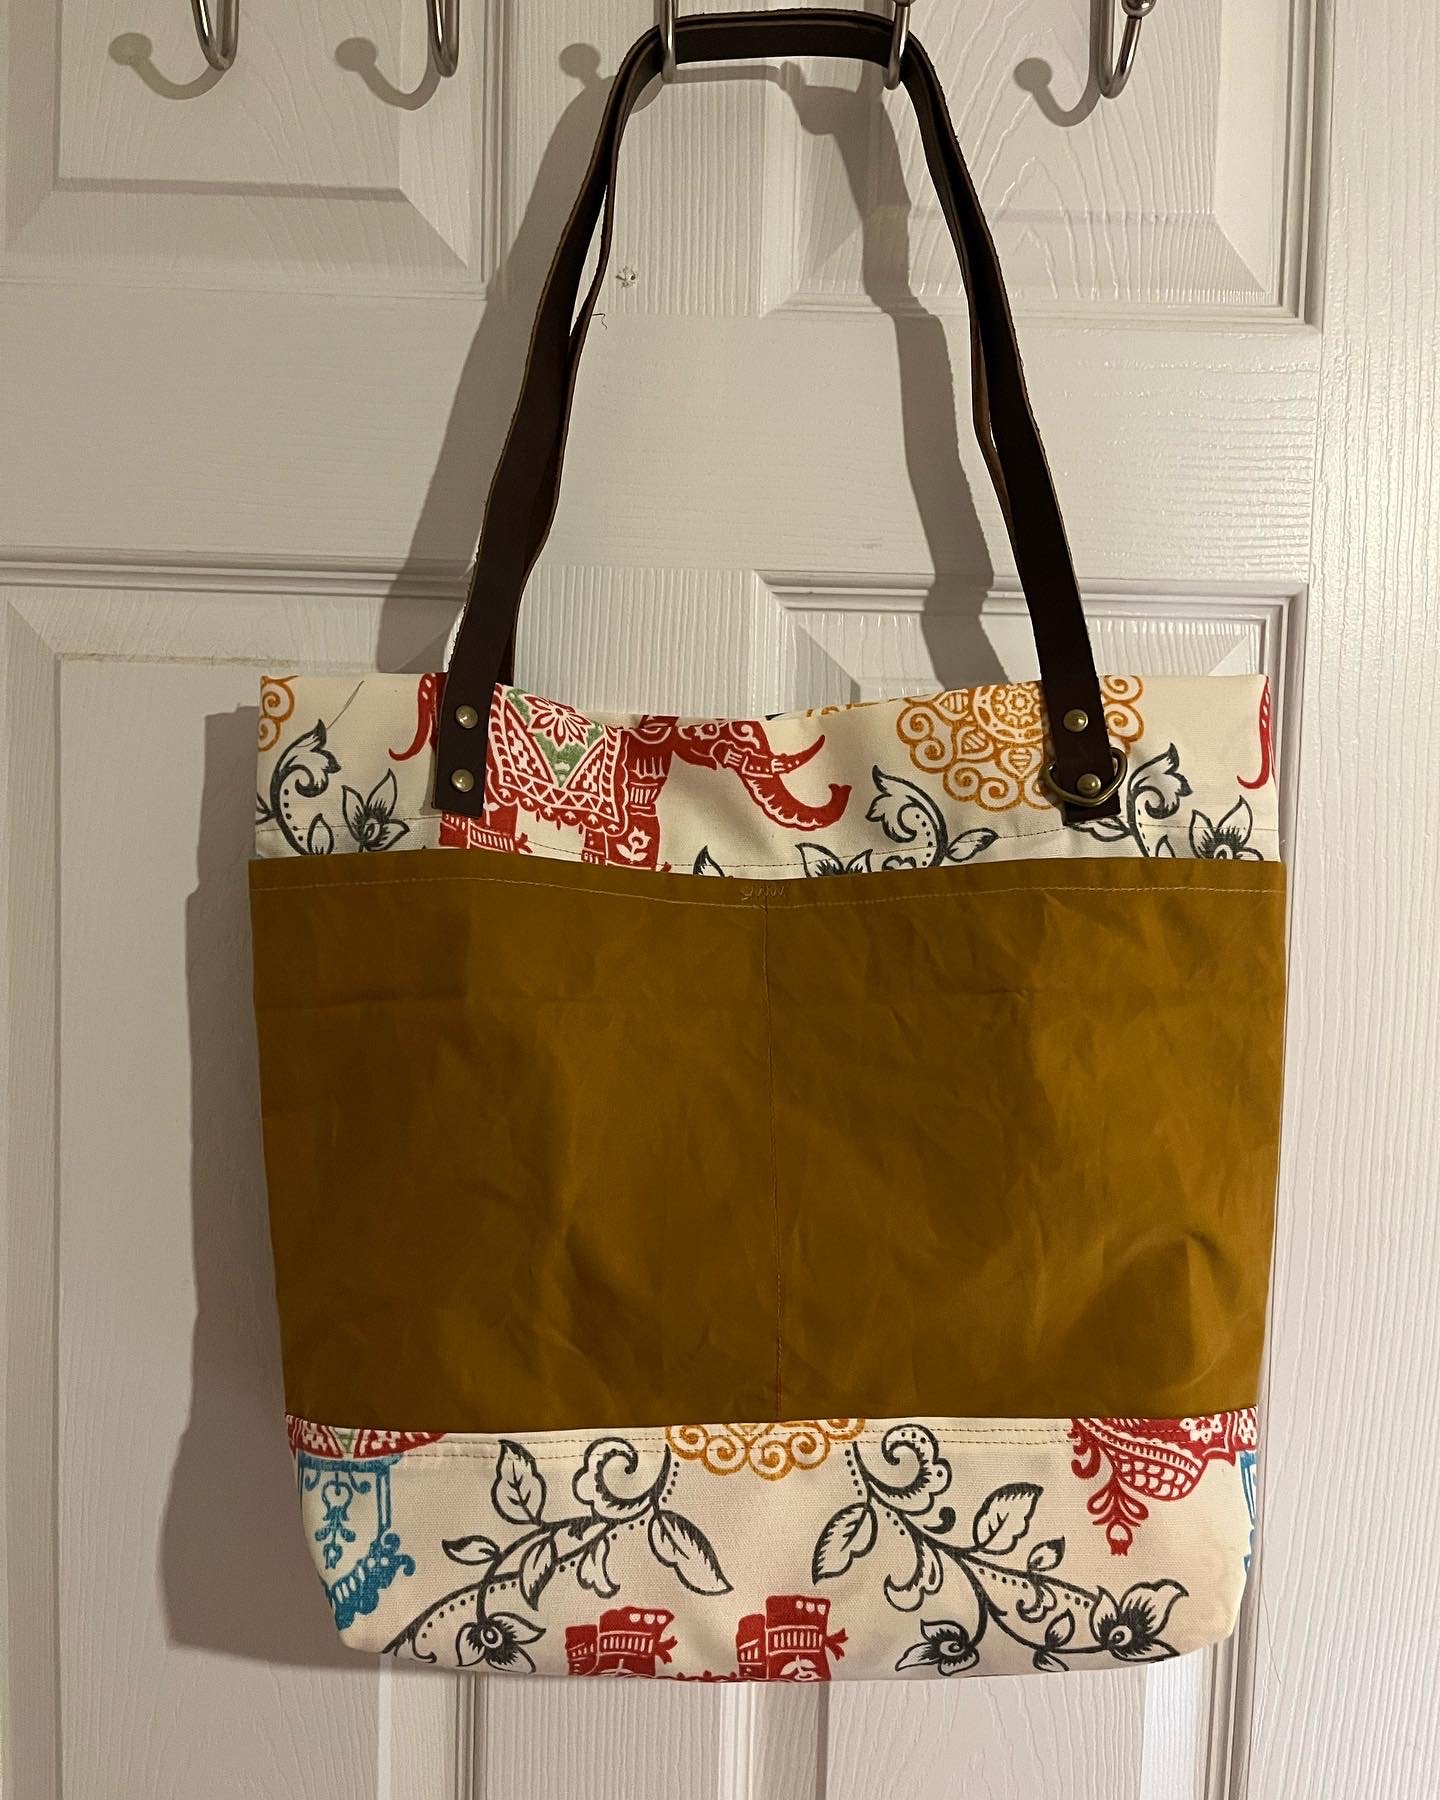
Let me go over the materials real quick before I get into the instructions for this bag. Since I did opt to get the notions kit, I didn’t have to spend my time at the craft shop or online searching for the right kind of leather and other notions for this bag. It was really affordable as well. Only $30 at Fancy Tiger Crafts and I believe it is $35 through Klum House. This kit came with the zipper, magnet closure, rivets, and leather straps needed to make one complete bag. I have already bought additional canvas and waxed canvas for more bags as I am now obsessed with this pattern. You can match so many pretty colors and prints with this bag. I mean honestly, go wild! The only caution I will give is that the outside pockets do cover much of the bag, so if you have a print you want to showcase, use the pockets as your main fabric. I did make an additional bag to showcase my super adorable elephant print and saffron waxed canvas by using the pattern, but with some minor changes. I will get to those changes later and if those changes worked.
I read through the instructions several times as is my habit before starting a project. I definitely like to overthink about things before I get started so I can really envision what it will look like once it is finished. This helps me figure out what I may need to change right away in the pattern. For example, the main body of the tote is one big rectangle. That will not work if you have a printed fabric like elephants. I would hate my elephants to become lightheaded because they were hanging upside down! So I cut the fabric in half after I added an inch to the length. I then sewed the two pieces together and reinforced the seam in case I carry anything heavy in the tote. It is also reinforced with an extra layer of canvas as well on the bottom just as part of the original pattern. I made sure that my elephant is featured there as well.
Everything is in a straight stitch with one foray into a zigzag for the outside pockets. The instructions call for a edgestitch foot which I do not have as of yet. So I did my best with my trusty regular foot. Some of the seams are a bit wavy, but straight seams are for machines and I am only a human! As per usual, I also opted for a color thread for a bit of design detail. I always like a contrasting thread on a garment or accessory. I also used a washable marker to mark lines on the fabric so as to make my lines as straight as possible. Then I realized I would not really be able to wash this bag. Lucky for me, my Mom got me a great set of tailors chalk. I ended up using that for my other bags. I did not reinforce my zigzag stitch as much as I should so I already need to redo that tiny bit on my bag. But that was a me fault and nothing about the instructions. The other bags look much better than my first attempt!
The instructions are clear and straightforward and easy to complete if you have the Oberlin Notions kit. If you opt not to get this, the instructions are still clear and easy. The instructions tell you what you need to do for the leather and gives direction on where to notch the leather that you use. The addition of line art/pictures/illustrations is also helpful. I never felt lost or on my own when making this pattern. I also used fabric clips for the first time while making this bag. Fabric clips are great when the fabric is too thick for pins or sewing waxed canvas which shows all the places you pinned the fabric. If you do not own any, I would suggest getting a few for making this pattern. When you make the flat bottom corners of the bag, the fabric clips are going to be very useful.
My Overall Thoughts:
This is going to a new go to bag for me to make for people. Not only is it a simple and easy pattern, the notions are not that costly. That being said, the overall cost of the bag can be a bit high when you add the waxed canvas. Especially the quality waxed fabric I got from Fancy Tiger Crafts. You can even opt not to buy the leather notions and instead make the straps out of canvas or a nylon straps. There is also an extension pattern for this bag which includes a top zipper closure and a lining. I have already made 4 more bags with that extension pattern! This bag can also be customized a bit if you want, though I feel I need to experiment more with that. My finished bag came out with mixed results which I will show you. I know I mentioned that already.
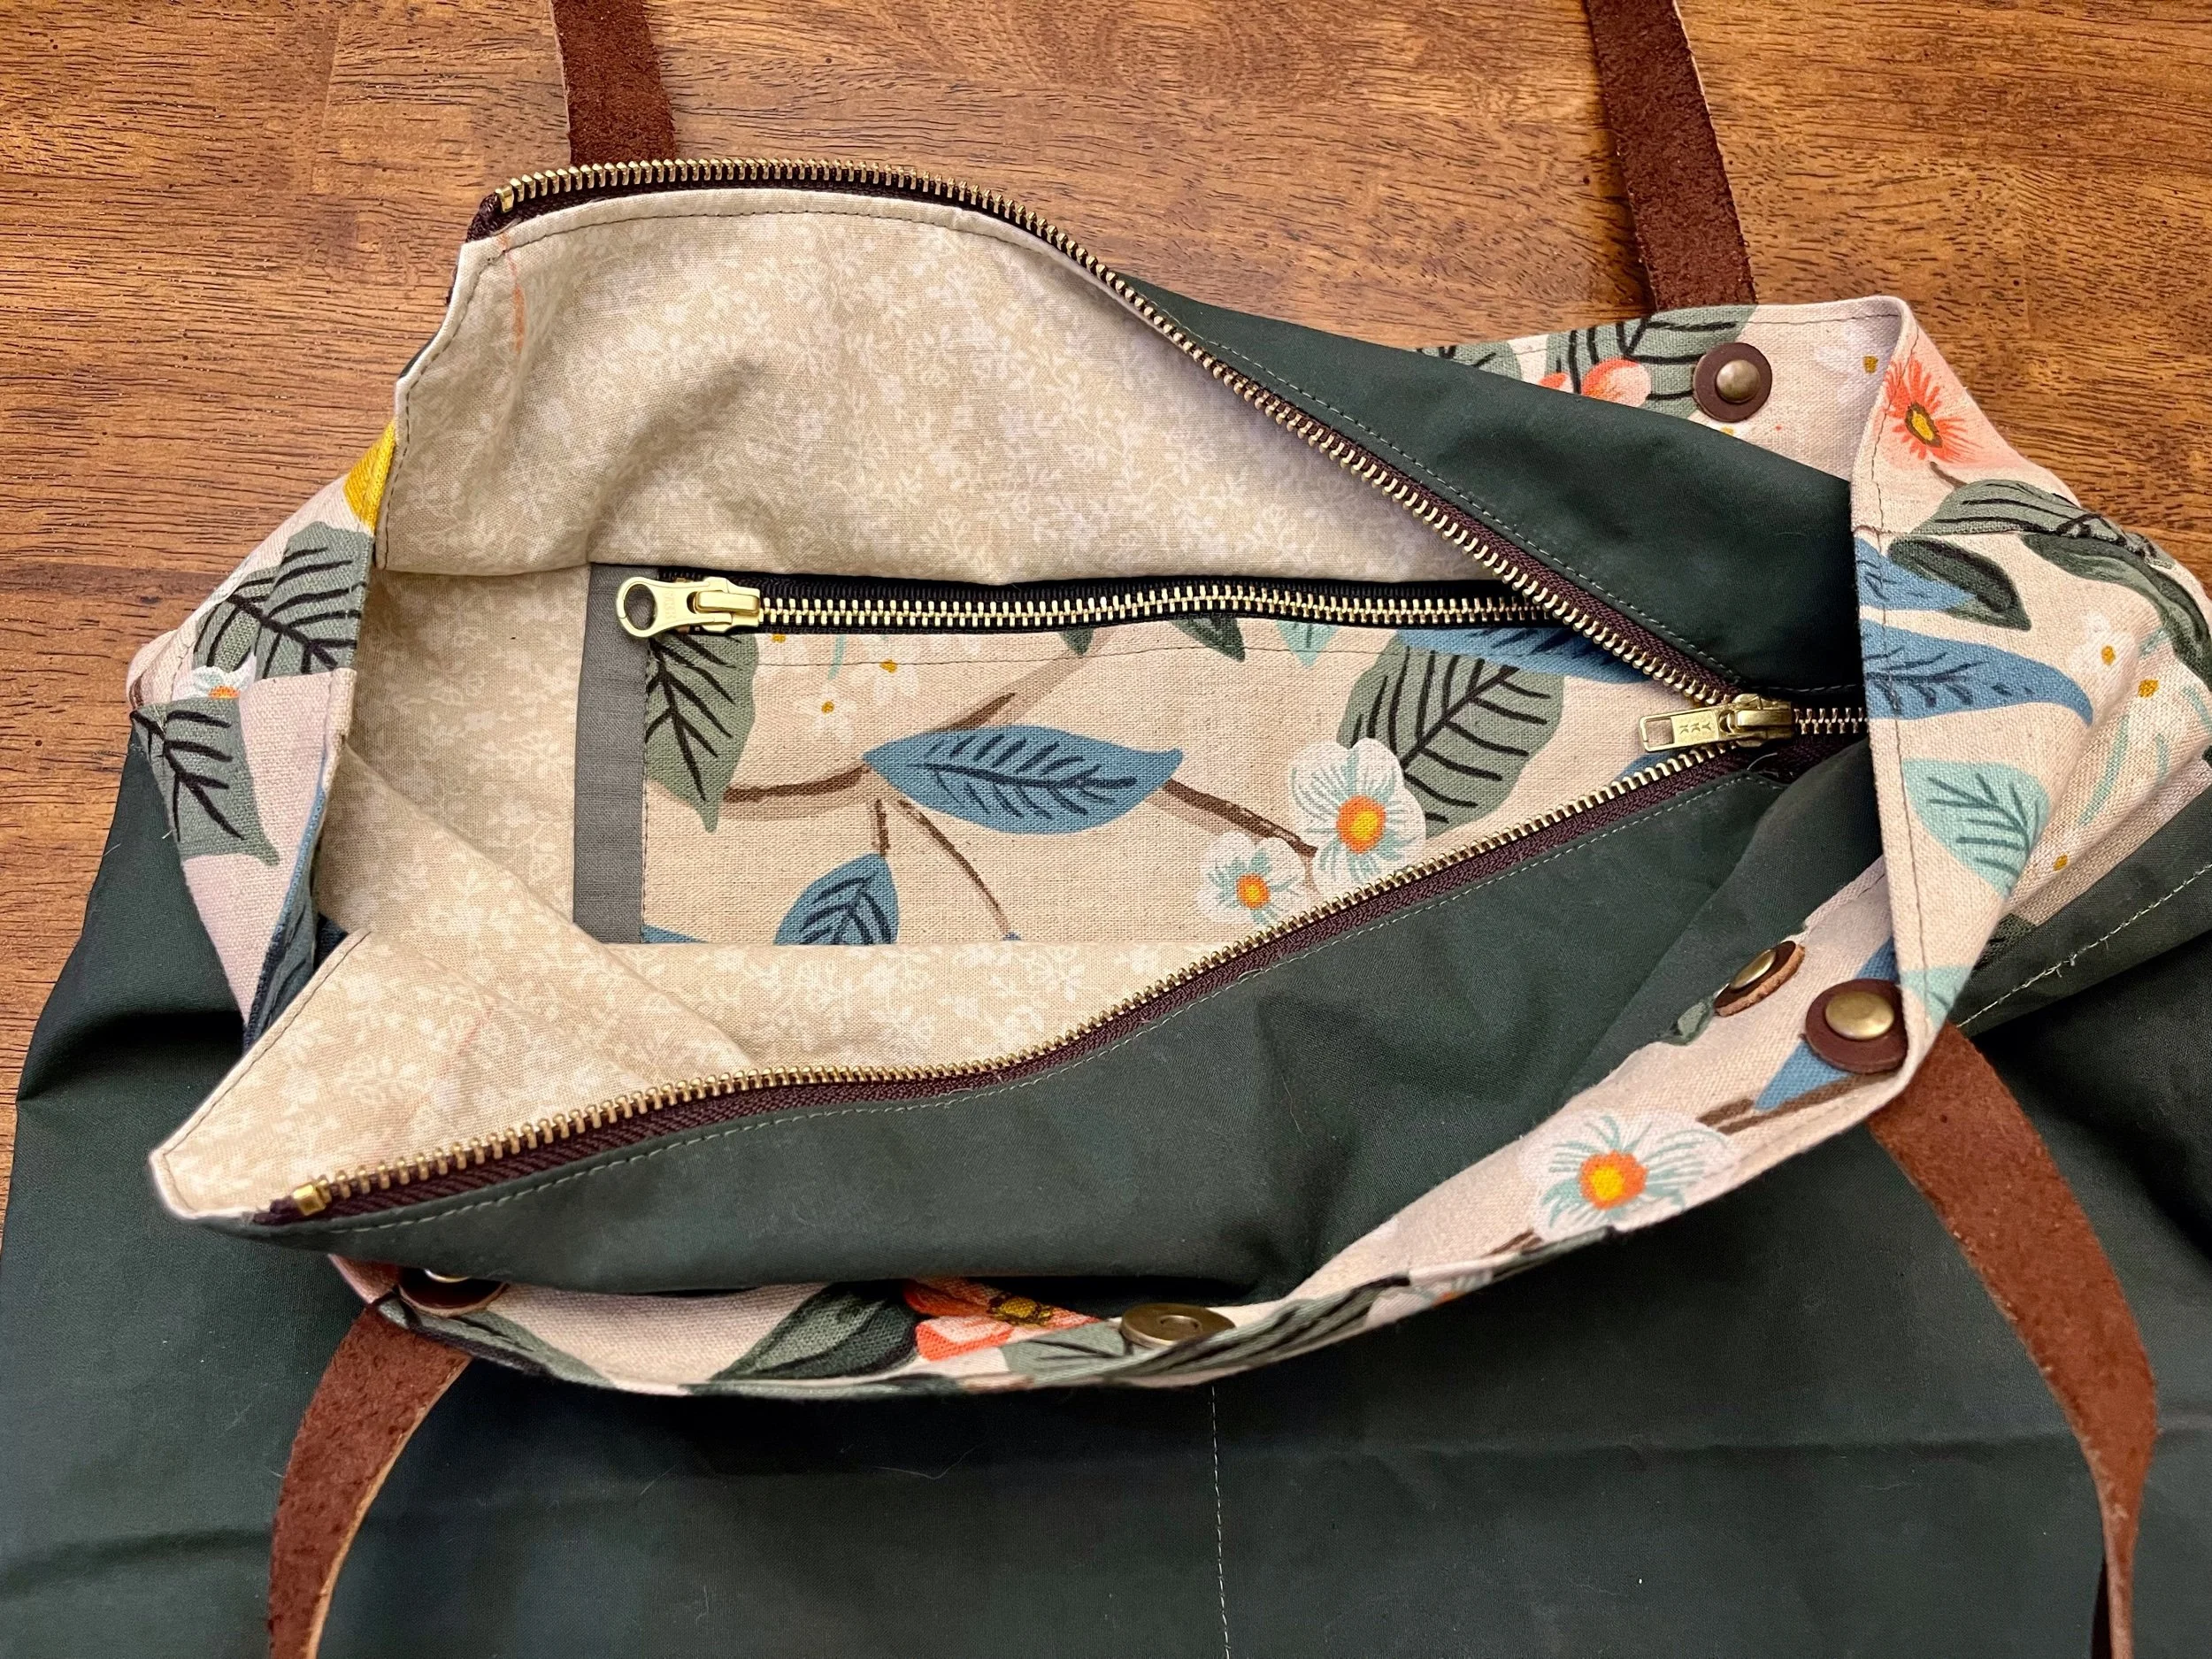
So on my experimental tote, I wanted to add a shoulder strap for I love a good crossbody bag. Then I also put the waxed canvas at the bottom of the bag rather than having the outside pockets. I figure the waxed canvas would help protect the contents of the bag if my bag fell in water. Since I used to live in the rainy PNW and currently live in a melty snow zone, a wet bag is a big possibility. I also decided to add the top zipper and line the bag as this was a great expansion pack for the Oberlin Tote. Overall, it is a functional crossbody bag. I use this along with my original tote when I travel. It is so nice having this as my carry on for air travel! It fits everything I need to be entertained and comfortable. The crossbody, when I put anything heavy in the bag, pulls at the top which makes the bag look a wee sad. I still use it constantly, but I think I will have to sort out that issue before I can say it was a success. In the meantime, I will just make more of the actual Oberlin Tote as created by Klum House!
These were great Christmas gifts for my family. I honestly think the best one I made was for my Mother-in-law. The reason I think is because I started using the fabric from the main body also for the pocket. It adds a great detail to the bag. The one for my mother and sister turned out really great and I loved those too! The inside pocket was a great hit! Enjoy the gallery below this to see the different fabrics I used. All purchased from Fancy Tiger Crafts (and no I am not getting any commission from my continual mention of that store - I just love them that much)!
Klum House also makes several different bag patterns that I plan to look into. I have already ordered my Slabtown seconds kit. This will be a backpack with all the notions and fabric included. The description said that the fabric or leather may have scuffs or imperfections which is exactly what I want. Needless to say that I am excited to make more from Klum House.
So go get yourself your own materials and make yourself a bag! I would love to see what you all make of this bag as well.
Happy making!


